Getting Started
Disclaimer
We will not take responsbility for any damage to your computer or files based on the actions you take resulting from taking this course. Please see our Terms and Conditions for more details.
Before getting started, we highly recommend you backup the files on your computer. This way, if your computer crashes when running Cursor commands, you will have everything important saved! It is not likely to happen, but there is still a small possibility—so better to be safe than sorry!
Before we get started, we need to install a few things our our computer.
Setting up Github
- If you do not have a Github account, you will need to create one here.
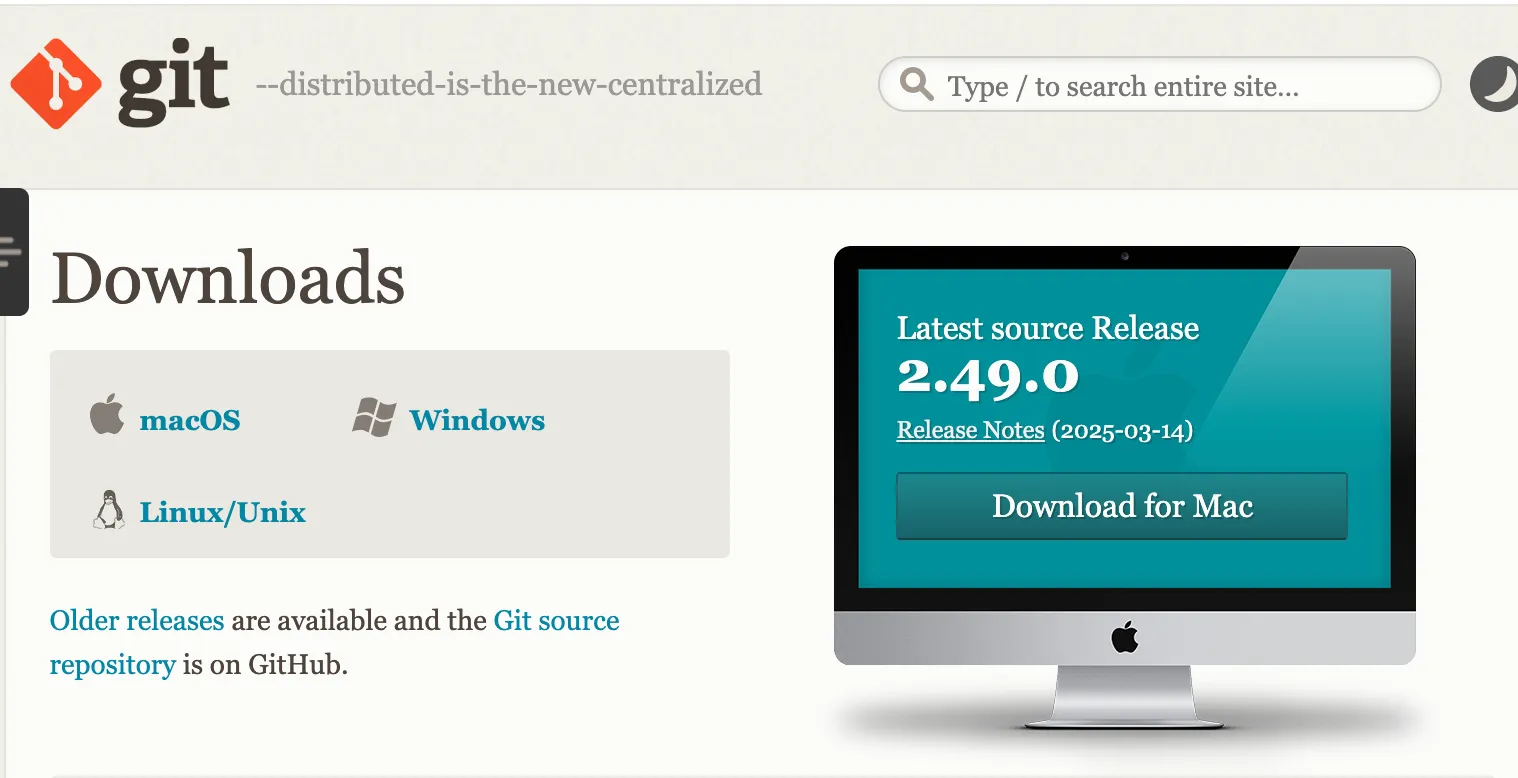
- You will need to install Github on your local machine, downloads here.
- For MacOS users, you can download it following the instructions here.
- For Windows users, you can download it following the instructions here.
- Once you have this set up, type the following command in your Terminal:
git --versionIf you have installed things correctly, you will see an output like git version 2.x.x.
Setting up your Cursor IDE
If you end up choosing Cursor as your IDE, you will need to do the following setup:
- Install the Cursor IDE. You can use this link to get one free month (instead of the usual 2 weeks).
Installing Node
In the course, we will be setting up Minimal Viable Product applications using the NextJS framework. Node.js is a runtime environment that lets you run JavaScript outside of a web browser. Node.js is necessary because it provides the environment and tools to run, build, and deploy Next.js applications. Thus, we need to install Node js on our computers.
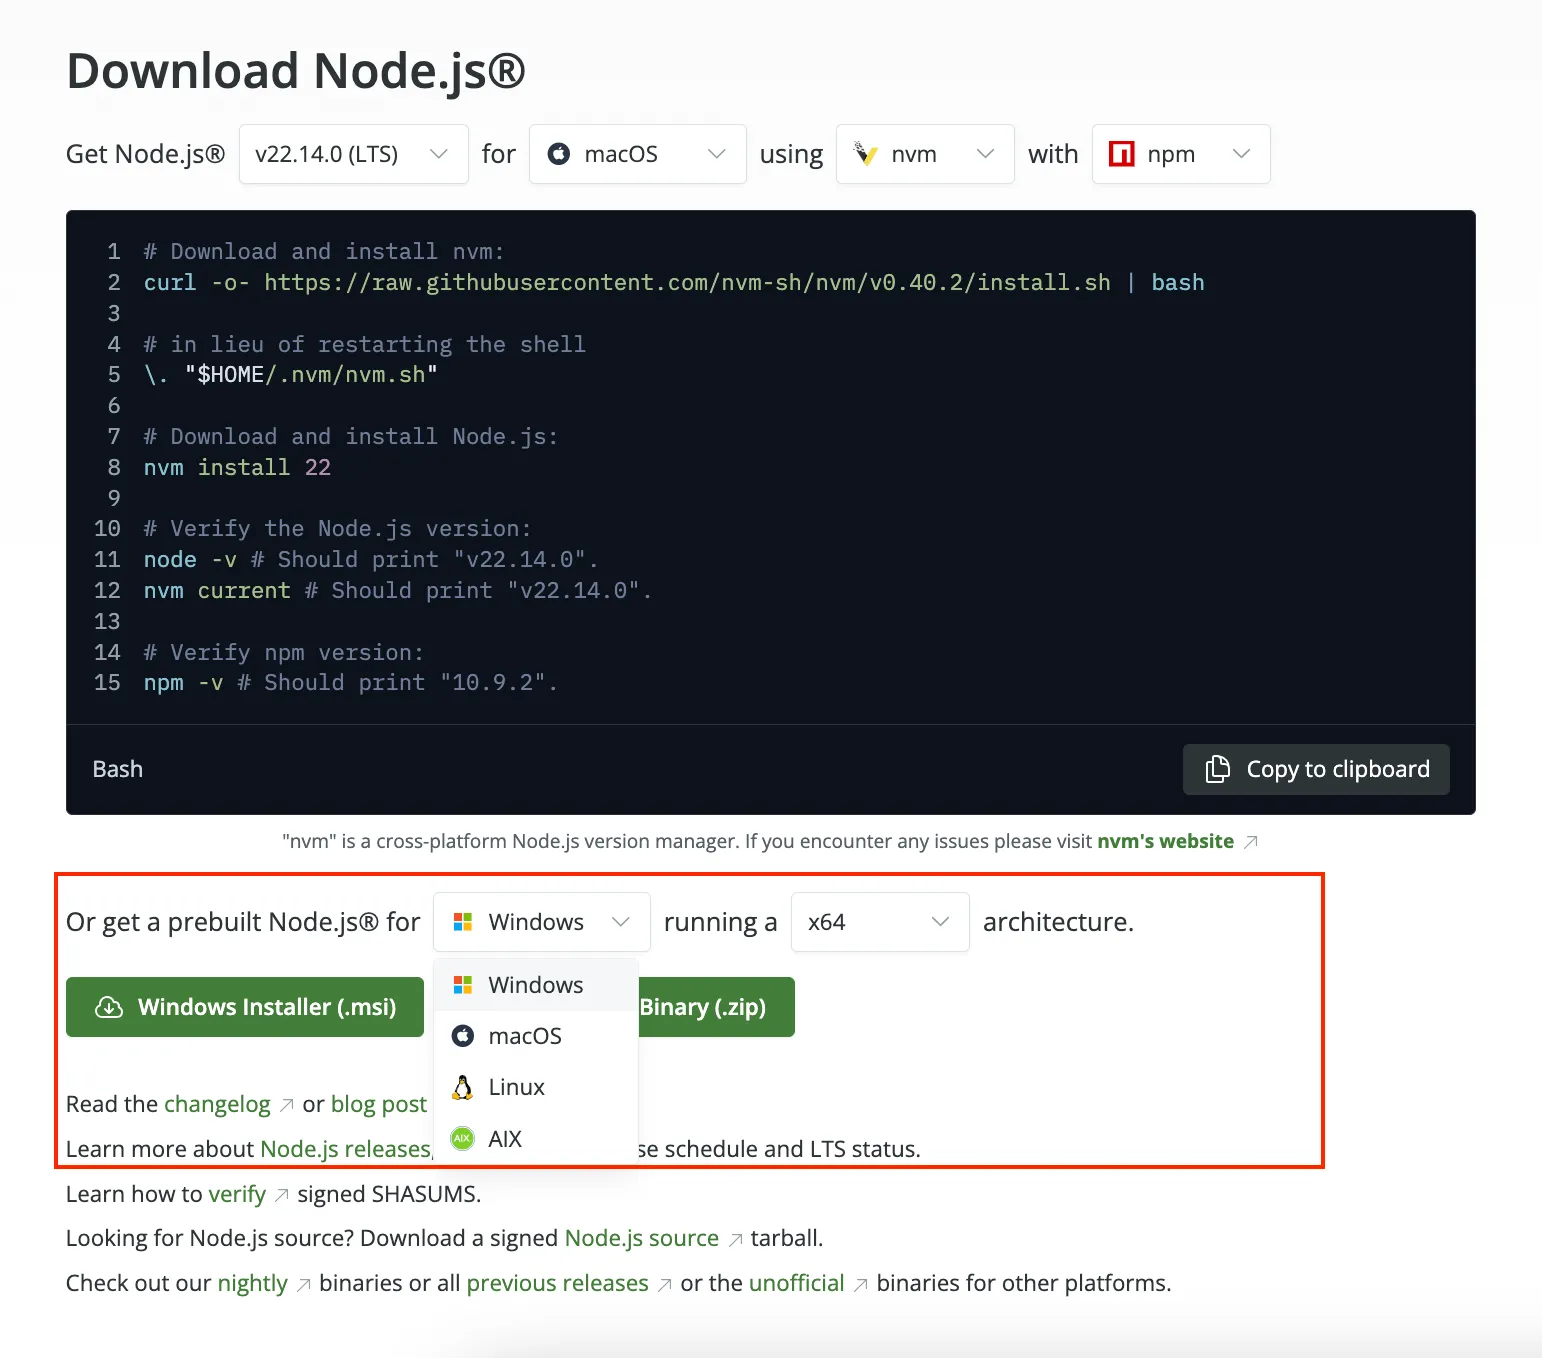
- Follow the instructions here. In particular, download the prebuilt packages at the bottom of the page (selecting for your operating system), and then run the package installer.
-
On Apple iOS, switch the selection filters at the bottom of the page to whatever matches your computer, i.e. ‘MacOS’. We recommend asking ChatGPT how to figure out your computer’s architecture if needed.
-
On Windows, switch the selection filters at the bottom of the page to whatever matches your computer, i.e. ‘Windows’. We recommend asking ChatGPT how to figure out your computer’s architecture if needed.
- You should be able to verify that you have successfully installed these by running these commands in your Terminal (Command Prompt for Windows).
node -vnpm -vThe output should be a version number if the program is properly installed.